
Art Lesson w/ Ms. Jennifer: Replicating Patterns in Nature like Frank Lloyd Wright
This week’s lesson is inspired by American artist and architect Frank Lloyd Wright. Born June 8, 1867 in Richland Center, Wisconsin, Wright spent a lot of time outdoors studying nature. This love of nature influenced his life’s work as he designed buildings to complement and fit in with their natural surroundings.
About Frank Lloyd Wright
The Frank Lloyd Wright Foundation has put together a wonderful set of lessons inspired by his work.
Take a look at this introduction video before you begin your Shapes in Nature Activity (modified instructions also found below).
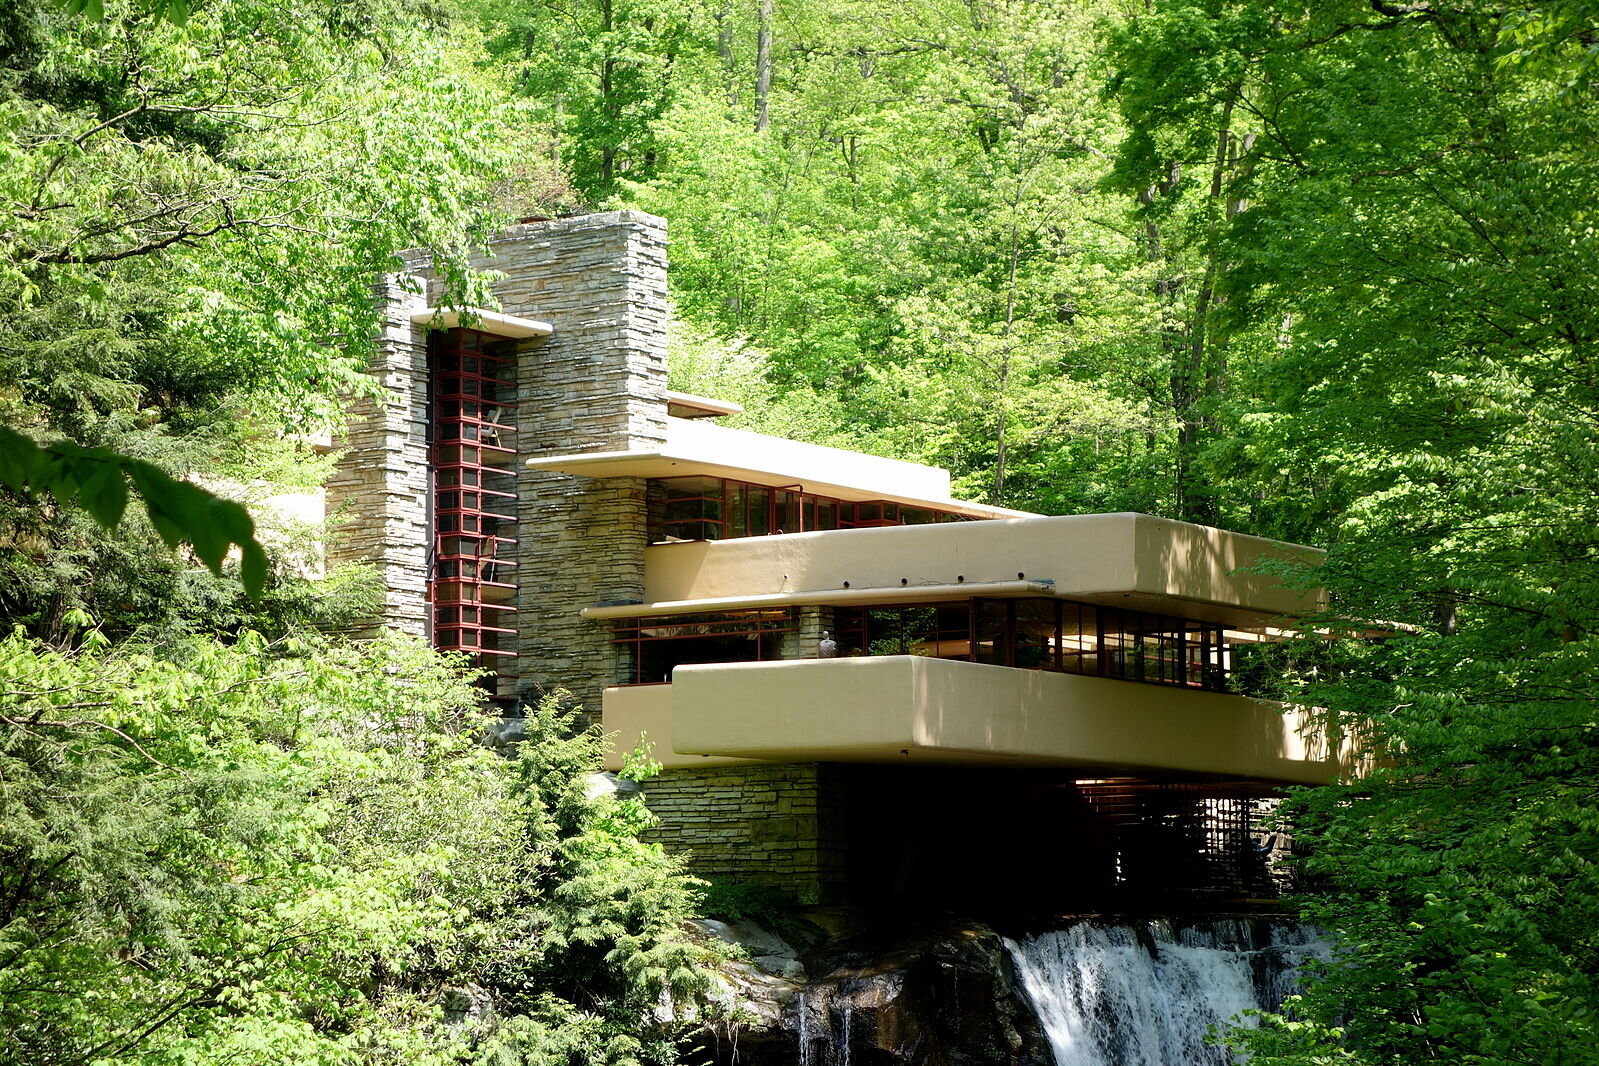
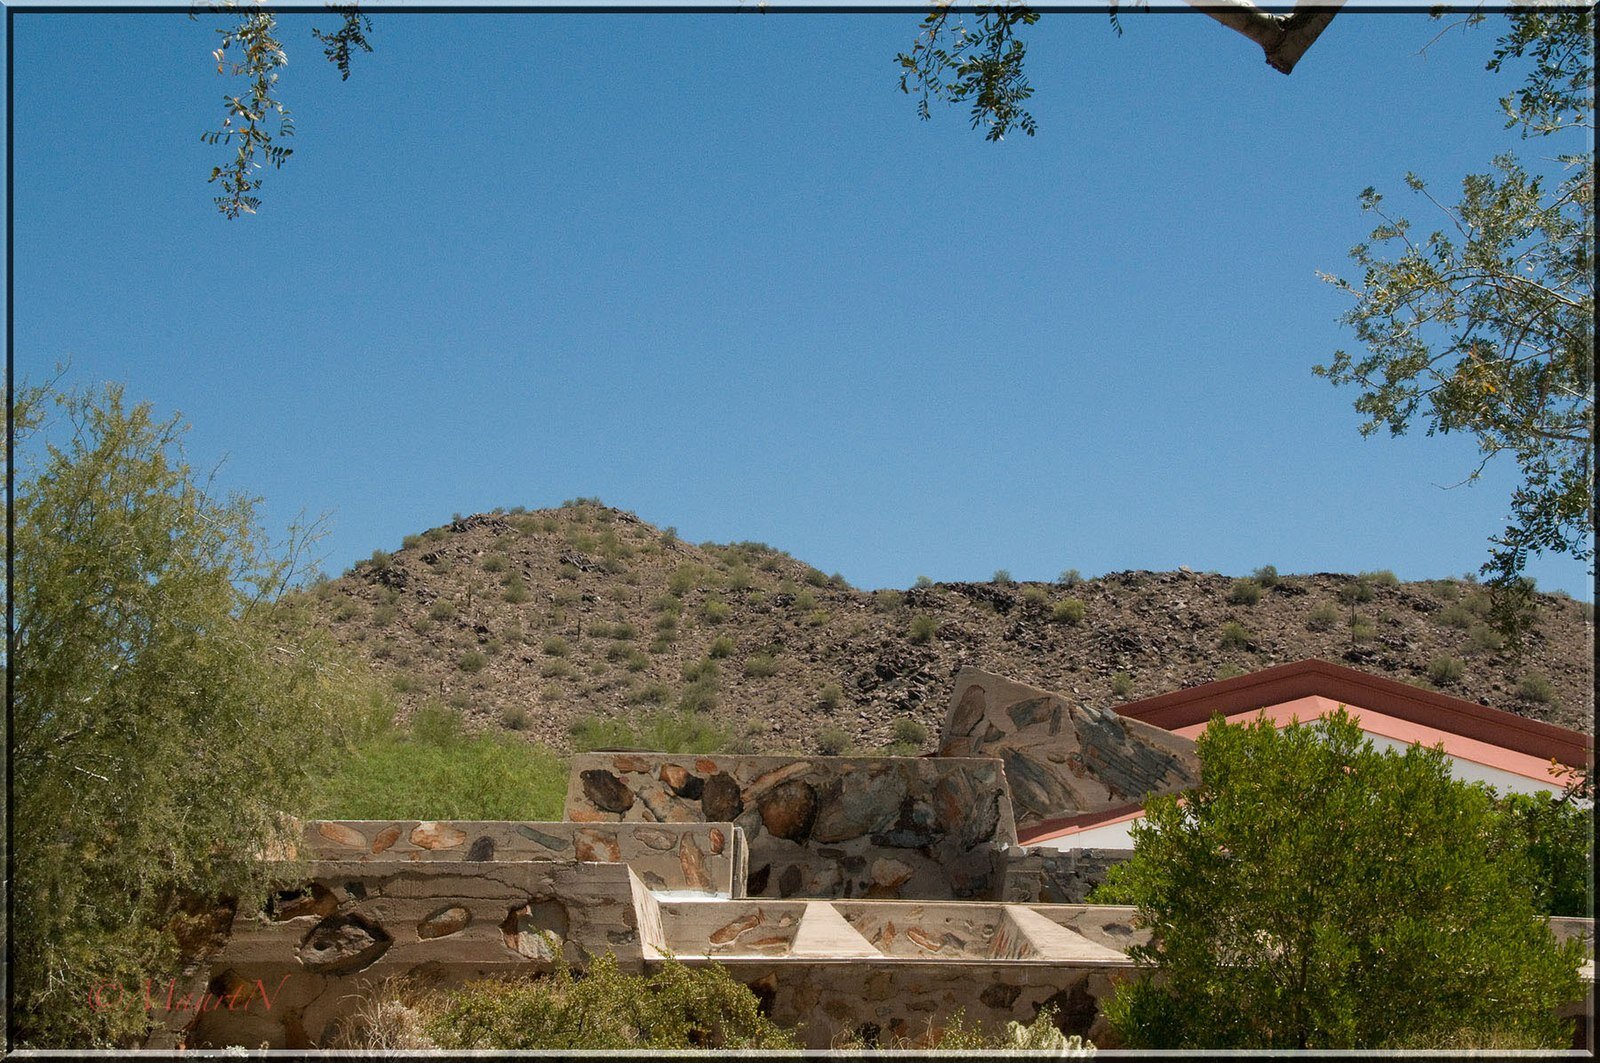
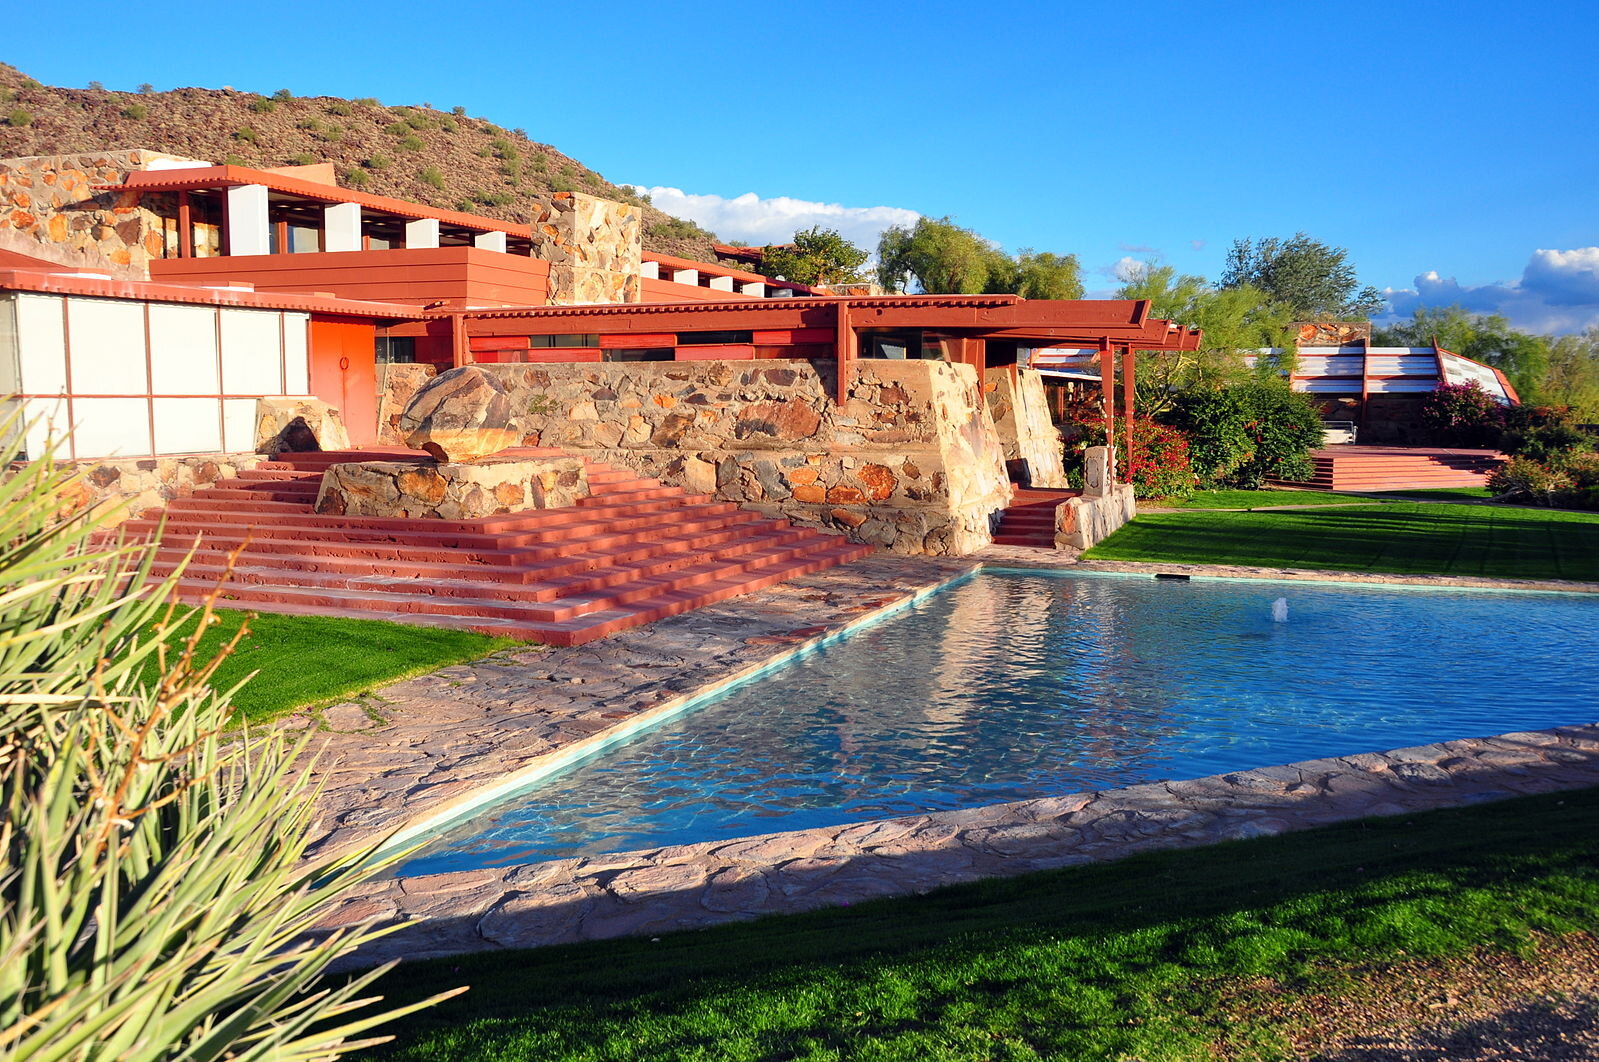
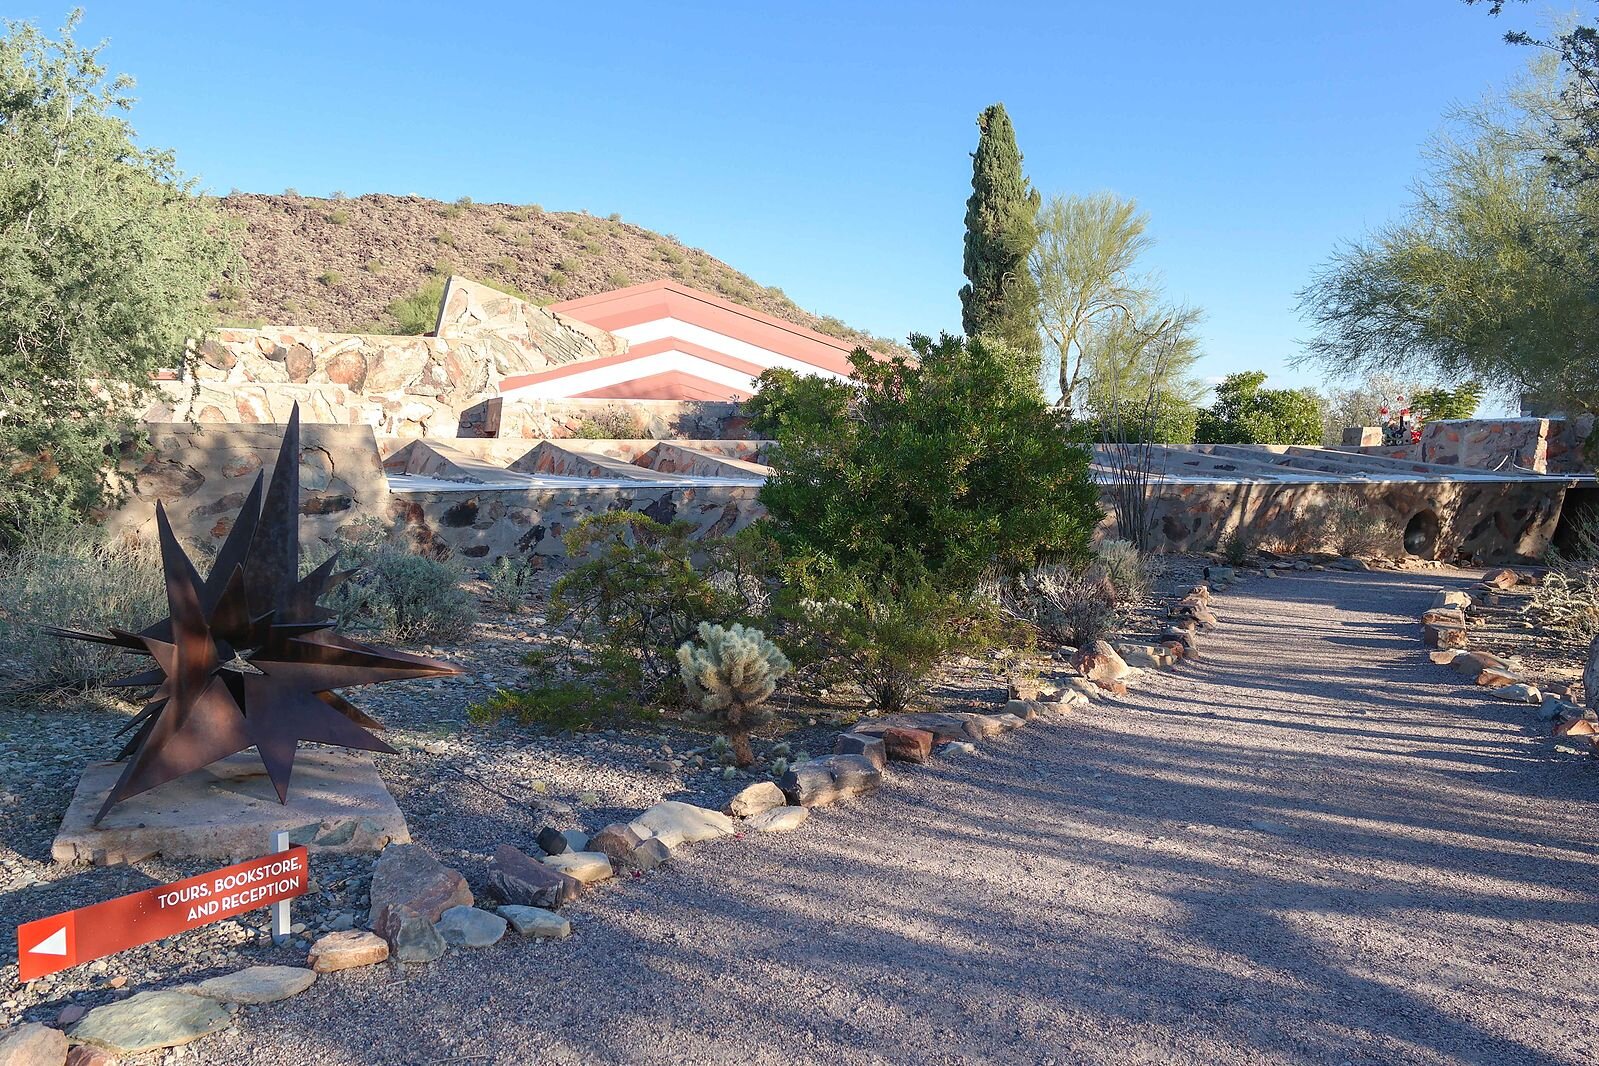
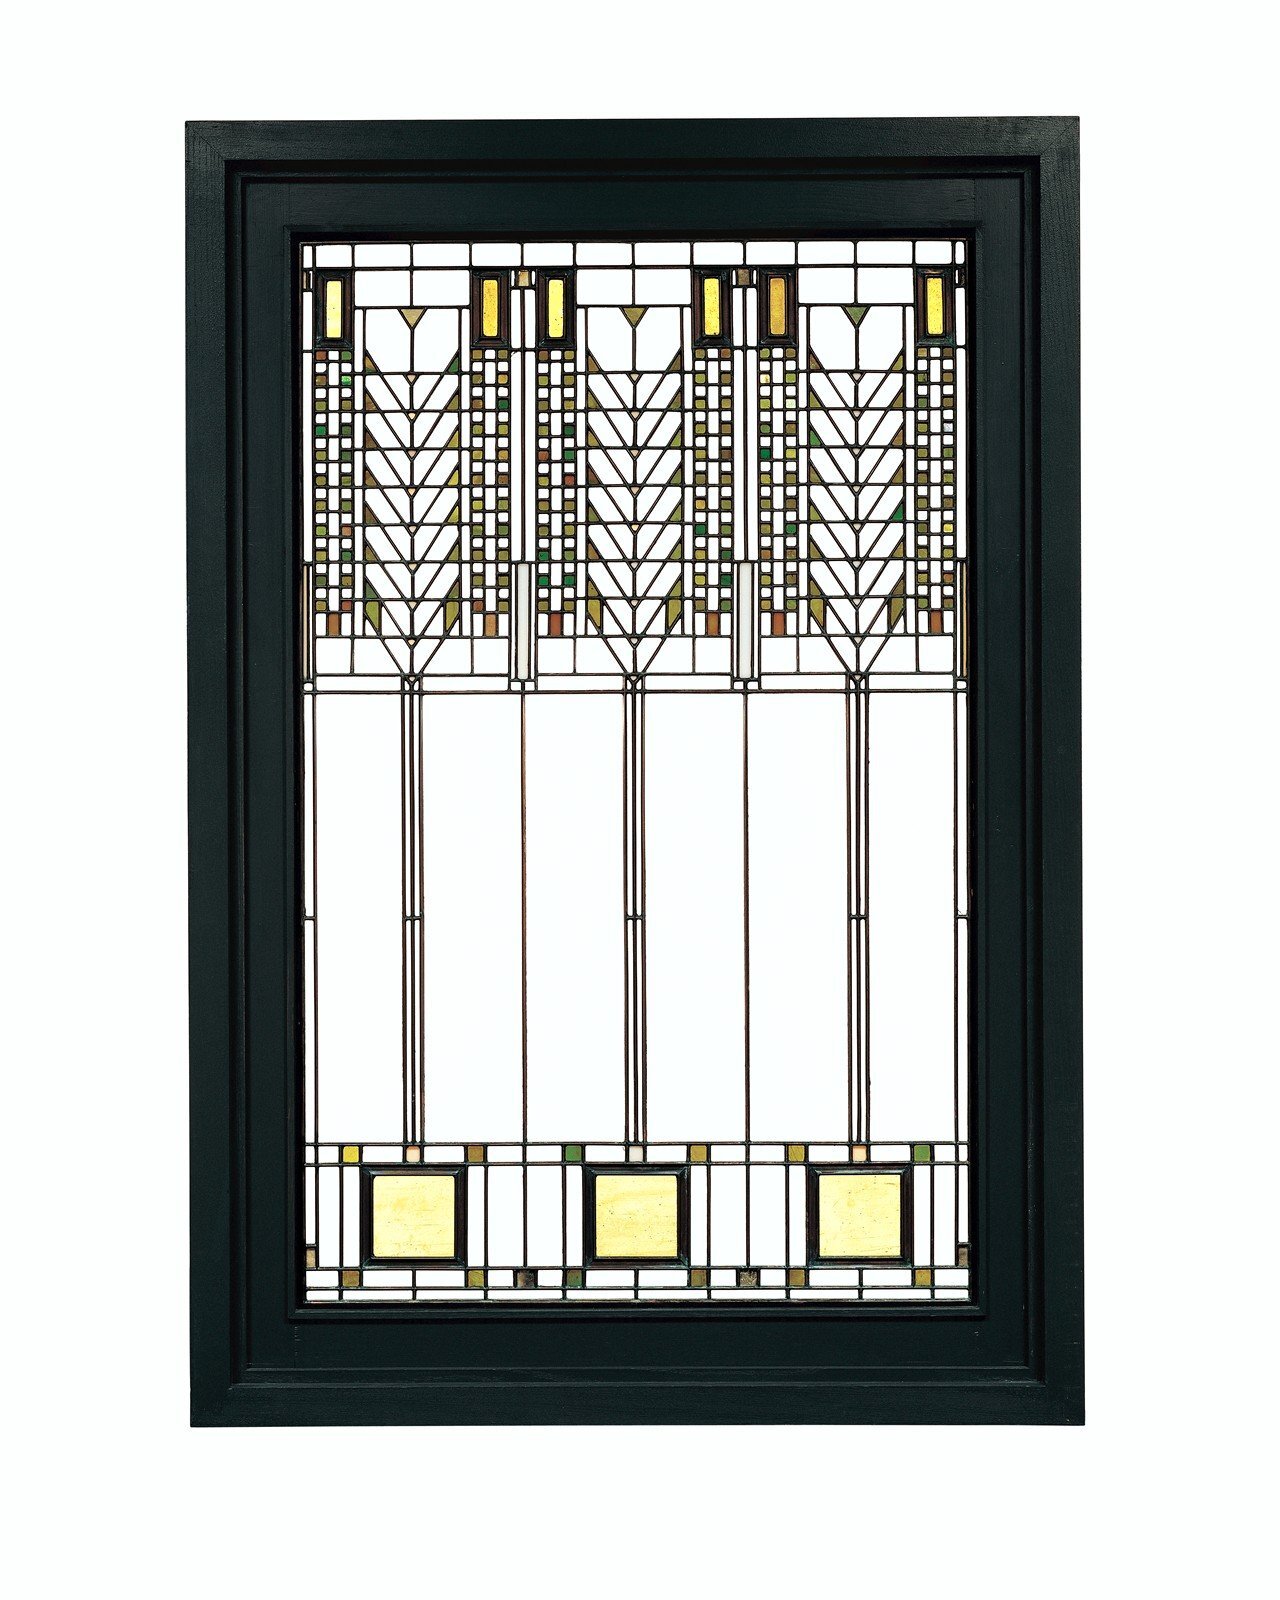
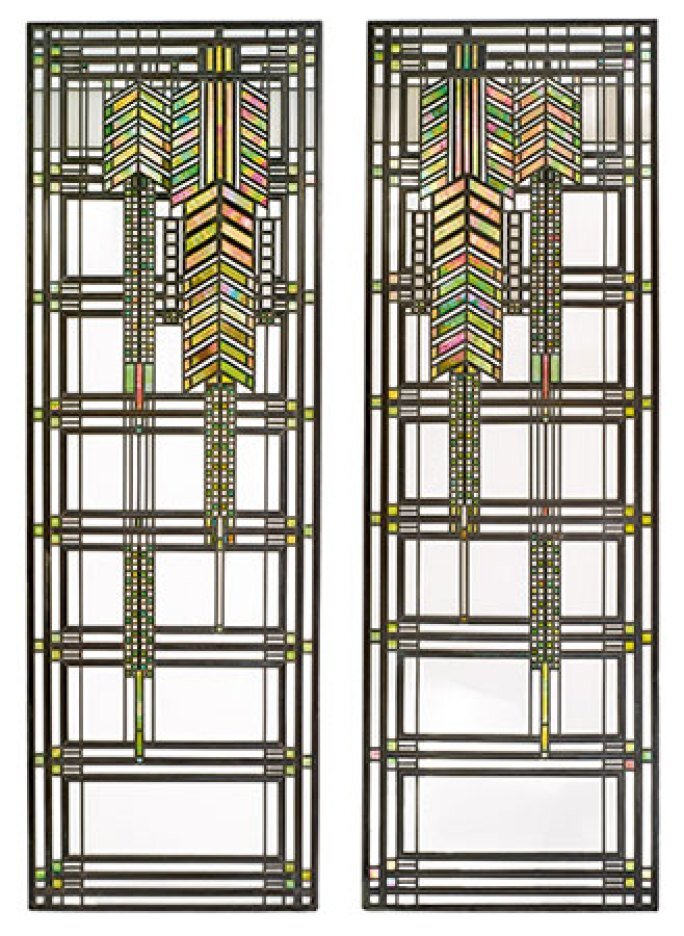
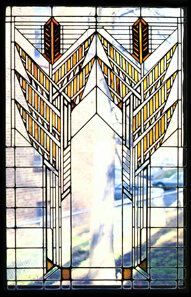
What do you notice about these artworks?
They are inspired by and blend with the natural surroundings. I hope you will look around in Nature to find beauty and inspiration every day!
Art Creation Guidance
Now let's find shapes and patterns in our own natural surroundings and recreate our own Nature’s Patterns work of art.
Materials:
Natural objects found around your house or another natural area
Something to draw with
Paper in whatever color you’d like
Process:
Take a walk with an adult and pay attention to all of the shapes you find there. Talk about what shapes and patterns you see.
Take a photo or collect a natural object to bring with you to your art workspace. Why did you select your particular object? What about it caught your eye? Why do you like it?
Watch the video below to see which object Ms. Jennifer selected and how she recreated a sketch of her object.
Sketch a version of your selected object, paying attention to its unique shape and patterns.
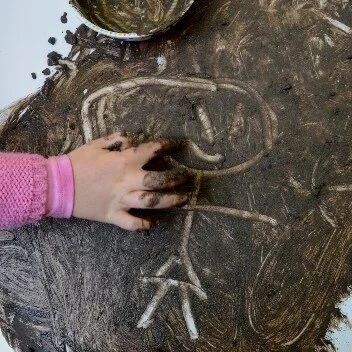
For Doodlebugs, Ages 2-5: Get out in Nature + explore painting with soil!
Materials:
Brush
paper
Soil
Old bowl, margarine tub, or coffee can
Plastic fork
water
Instructions:
Take a nature walk and gather a cup of loose soil or clay.
Mix warm water into the soil, a tablespoon at a time, and whisk using a plastic fork, until it is the consistency of paint.
Set up an area outside on the deck or grass with your paper, “paint” and brush. You might want to place a piece of cardboard under the paper to support it.
Create your masterpiece!
Try adding food coloring or powdered tempera paint to your mud paint for more color. Are there different colors of soil in your yard? Try making a painting with multiple colors of dirt. Collect samples of different colored soils from trips or special places.
Tip: adding a few drops of Dawn dish liquid helps the paint spread more easily!

Yay! You did it!
Please don't forget to email your artwork to Jennifer@BlowingRockMuseum.org to be shared in our Youth Gallery. We will be printing selections of Youth Artwork submitted digitally, and framing them in our new Youth Gallery on the 2nd floor of BRAHM.
And if you find value in our mission to bring art enrichment to community students through programs such as Young at Art, please consider supporting BRAHM by donating or joining as a member.
Did you know that a membership at the FAMILY LEVEL ($75) and above gives you FREE access to our weekly youth art classes?