Art Lesson w/ Ms. Jennifer: Throwback Hans Hofmann

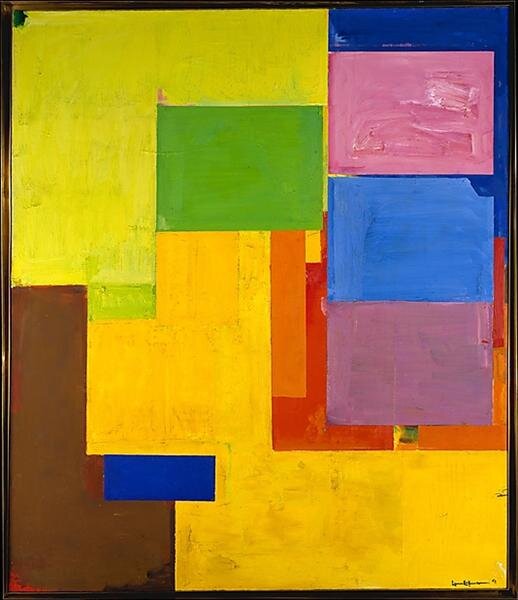
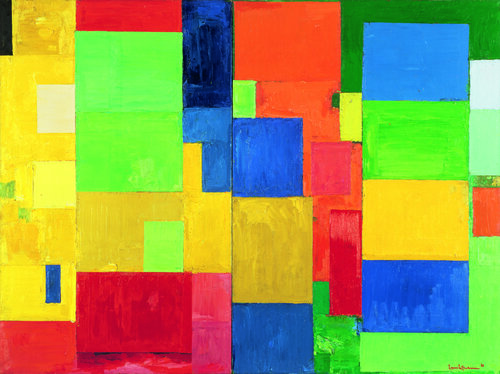
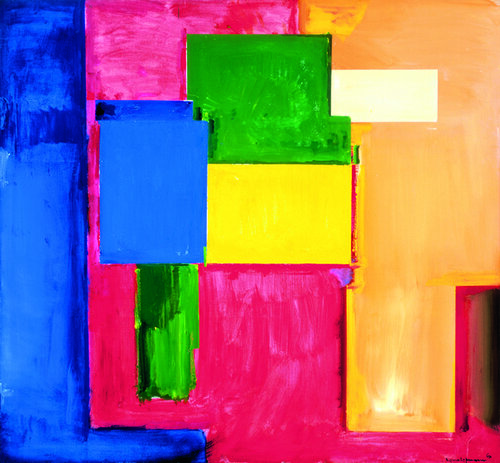
This week’s theme is the artist Hans Hofmann and his theory of “push and pull” in art. Born in Germany in 1880, Hofmann moved to the United States. Hofmann developed an interest in mathematics, science, music, and art at a very early age. He was first a mathemetician and scientist then became a painter. He moved to Paris and learned from other artists such as Picasso, Matisse, and Robert and Sonia Delaunay. He opened an art school and became a very influential art teacher. He later moved to the United States and opened schools in NY and MA. Many of his students became abstract expressionist artists, with a heavy emphasis on color. As a teacher, Hofmann encouraged individual creativity and experimentation. His work crossed many styles, but we will focus on his most abstract, colorful works in this lesson.
Learn More about Hans Hoffman:
Materials:
Scraps of paper and tissue, cut into rough square and rectangle shapes
Thick paper, cardboard, or poster board as a base
School glue (slightly watered down), Mod Podge, or starch paste * (recipe here: https://www.carlemuseum.org/blogs/making-art/homemade-liquid-starch-glue)
Old paint brush (not a tiny one -- maybe 1”)
Recycled container such as an applesauce cup
Optional: Tempera or watercolor paint if desired
Instructions:

Optional first step: Create some large background shapes with paint. Allow to dry.

Begin gluing squares on your background by painting a thin layer of glue. Place several larger squares first.

Next, begin overlapping some squares with more layers. Note how the tissue’s transparent nature allows the paper and colors beneath show through.

Play with using cool and warm colors to create a “push-pull” composition.

Finish with a final layer of glue for a smooth surface.

Watch Mr. Lundgren show how to create a Hans Hofmann inspired tissue collage here:
Doodlebugs: This project works for all ages!
You can begin cutting practice for even the youngest artists by first cutting for them 1” thin strips of colored construction paper or magazine pages. Then with a pair of dull tipped scissors, (I love the Fiskars brand, but Wescott is also great) allow them to cut the strips into small squares. This is wonderful fine motor practice, cutting and placing the small shapes. Direct them to place their 4 finger friends into the big bottom hole of the scissor handle, and the thumb into the smaller top hole.When they are spreading glue and placing scraps of paper, have then name each color. You could cut some circle and triangle shapes for them, and have then name the shapes as well.


You did it! Please don't forget to email your artwork to Jennifer@BlowingRockMuseum.org so it will be showcased in this Friday’s Kids Gallery!
Have you subscribed to our YouTube channel? Click on the green subscribe button.
And if you find value in our mission to bring art enrichment to community students through programs such as Young at Art, please consider supporting BRAHM by donating or joining as a member.